Saturday, July 31, 2010

Cioppino

Dean requested Cioppino for his birthday meal. I've heard of the dish but never had it myself so I was up for the challenge of making it. I went online and found this recipe by Giada De Laurentiis for Cioppino. It was fairly easy to make and very tasty!

Ingredients

  • 3 tablespoons olive oil
  • 1 large fennel bulb, thinly sliced (it was labeled sweet anise at the store)
  • 1 onion, chopped
  • 3 large shallots, chopped
  • 2 teaspoons salt
  • 4 large garlic cloves, finely chopped
  • 3/4 teaspoon dried crushed red pepper flakes, plus more to taste
  • 1/4 cup tomato paste
  • 1 (28-ounce) can diced tomatoes in juice
  • 1 1/2 cups dry white wine
  • 5 cups fish or chicken stock
  • 1 bay leaf
  • 1 pound mussels, scrubbed, debearded
  • 1 pound uncooked large shrimp, peeled and deveined
  • 1 pound scallops
  • 1 1/2 pounds assorted firm-fleshed fish fillets such as halibut or salmon, cut into 2-inch chunks


Heat the oil in a very large pot over medium heat. Add the fennel, onion, shallots, and salt and saute until the onion is translucent, about 10 minutes.


Add the garlic and 3/4 teaspoon of red pepper flakes, and saute 2 minutes.


Stir in the tomato paste. Add tomatoes with their juices, wine, fish or chicken stock and bay leaf.

Cover and bring to a simmer. Reduce the heat to medium-low. Cover and simmer until the flavors blend, about 30 minutes.

Add the mussels to the cooking liquid. Cover and cook until the mussels begin to open, about 5 minutes
Add the scallops, shrimp and fish. Simmer gently until the fish and shrimp are just cooked through, and the clams are completely open, stirring gently, about 5 minutes longer (discard any clams and mussels that do not open).

While at the grocery store, the check out lady asked what I was going to do with the fennel. She said she never cared for the flavor of black licorice but tried fennel once and became a fan. I too had never tried fennel because I am not a fan of black licorice but was excited none-the-less to try it out in this recipe. She wished me luck with the meal and added that Cioppino is not complete without a nice crunchy bread to soak up the juice. Luckily we had bread left over from Dean's party from the night before.

Greg and I bought the seafood at Costco the day we made the recipe. Next time we need seafood, we'll go to Ranch 99 for our seafood needs. Half the mussels didn't open or they were already cracked when I went to wash them off. Very disappointing to say the least.


Overall it turned out great. I will definitely try this meal again and change up the seafood ingredients to add a different taste to the dish.

Saturday, July 24, 2010

Crock-Pot Chicken Adobo

Erika's cousin Rick made Adobo with chicken while I was at their apartment a few months back. It was so good, I tried to recreate it at home. Needless-to-say, I am still trying to perfect it.

What is Adobo you ask? According to Wikipedia, it is a Filipino cooking process which involves stewing in vinegar but is a term with Spanish origin which means to marinate or season. Typically, pork or chicken, or a combination of both, is slowly cooked in soy sauce, vinegar, crushed garlic, bay leaf, and black peppercorns.

In my first try to recreate it I used pork. I don't think I let it boil long enough for the meat was a tad tough. For try #2 I used chicken. Most recipes I saw online (and what her cousin did) call for using the whole chicken cut up with the skin still in tact. I was trying to make it healthier so I used skinless, boneless chicken breasts. It wasn't bad but still not what I had experienced at Erika's.

Since the meat in previous tries have been a little dry, I decided to try my luck with the crock-pot. I mean seriously, what doesn't cook well in a crock-pot, right? Once again, I used skinless, boneless chicken breasts and added some veggies into the mix.

Crock-Pot Chicken Adobo
  • 2 zucchinis
  • 1 cup chopped carrots
  • 4 large skinless, boneless chicken breasts
  • 3/4 cup low sodium soy sauce
  • 1/2 cup apple cider vinegar
  • 2 bay leaves
  • 1/4 tsp red pepper flakes
  • 1/2 tsp ground ginger
  • 1/2 tsp ground mustard
  • 1 tsp black pepper
  • 4 crushed cloves of garlic
  1. I washed and cut up the zucchinis and carrots and placed them on the bottom of the crock-pot. (If you have onion, throw some onion into the mix. I used vegetables I had on hand.)
  2. Next I cut the chicken breasts into inch sized cubes and placed on top of the vegetables. (Chicken thighs or legs would work beautifully.)
  3. I mixed all the remaining ingredients and poured it over the chicken. (Some recipes recommended marinating the chicken in the soy sauce/vinegar concoction over night.)
  4. Cover with the lid. At this point you can set the crock-pot on low (6-8 hours cooking time) or high (4 hours cooking time). I set mine to high as I put it all together in the afternoon and wanted it for dinner.
  5. An hour and a half into the cooking time I stirred the contents of the crock-pot as to ensure the chicken didn't cook into one huge mass and to help the liquid incorporate into the chicken.
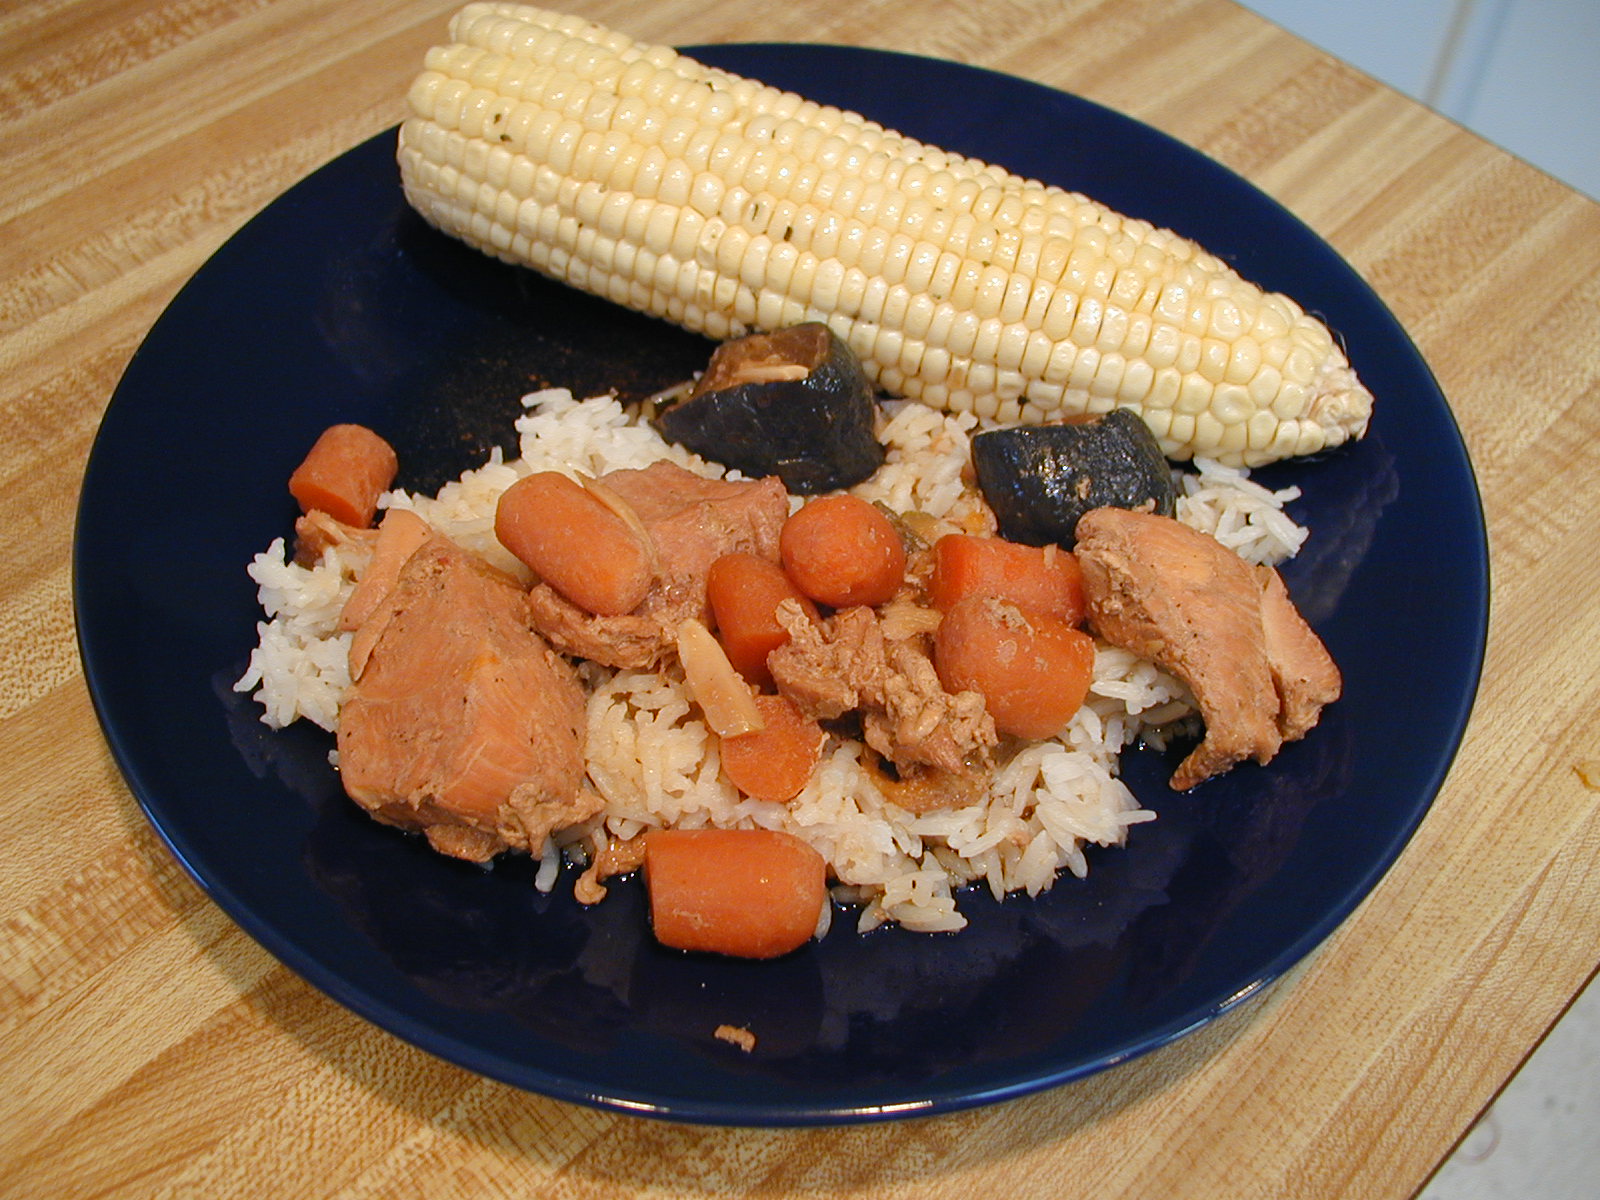
As side dishes, I cooked some rice and oven roasted some corn on the cob. The corn was quite simple. I poured some olive oil onto husked cobs and sprinkled on some salt, Italian seasoning and garlic powder. You can add whatever seasoning you like. I put it in a 350 degree pre-heated oven for 20 minutes. At this point I rotated the corn and cooked for another 20 minutes.

I am pleased with my third attempt. Greg mentioned the liquid was a little strong for his liking if eaten by itself, but complimented the rice nicely. As for myself, I like vinegary things so the liquid tasted great.

Trying to recall what Rick had done and referencing a basic recipe online, I always try to make recipes my own. This time I did that by adding ginger, mustard and pepper flakes and veggies to the recipe. If you notice, the spices are about half the ingredients needed for a pickling spice mix. Looking at a pickling mix recipe, cloves might make a nice addition for next time to this recipe...

When I finally figure out how to make it in a regular pot, I'll post my success. :-)